Final Cut Pro Auto Captions: mCaptionsAI vs. Built-In Generate Captions
yuu
Oosawano BASE

Disclosure: This post contains affiliate links. If you sign up through them, I may earn a commission at no extra cost to you.
This is the English edition of my Japanese article, updated for November 2026.
Hi, I’m Yuu from Oosawano BASE.
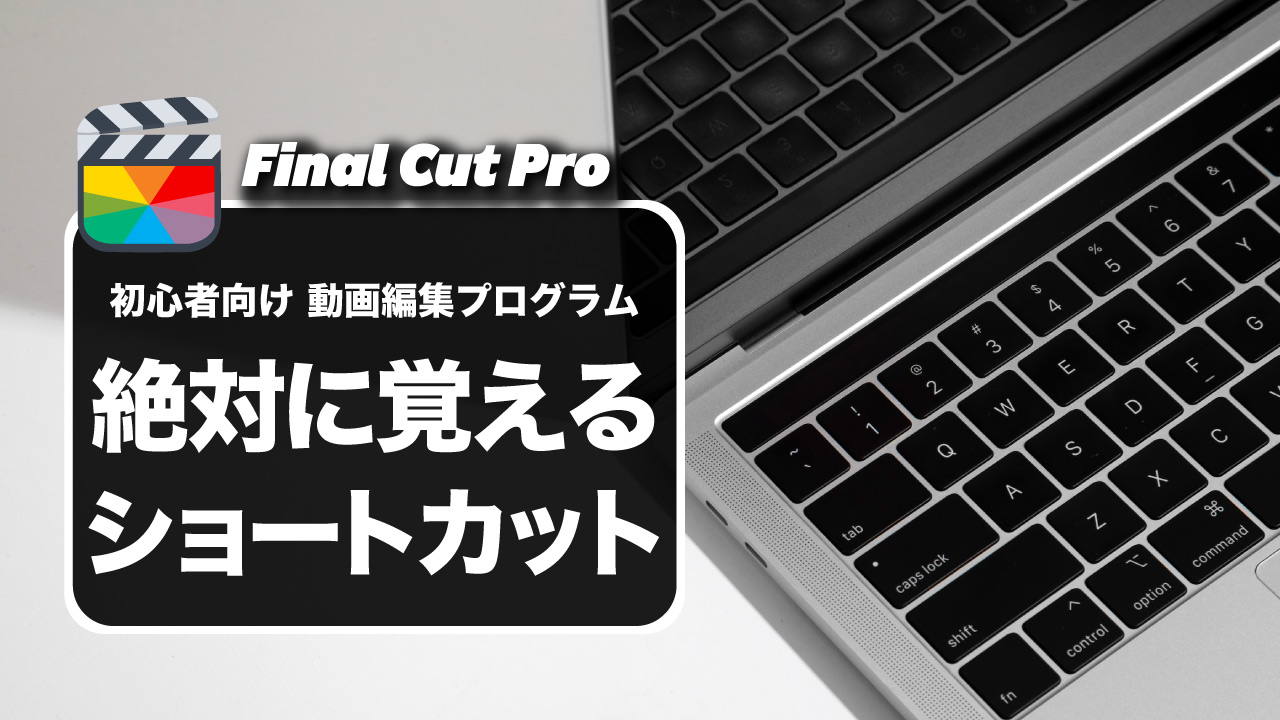
Today’s theme is the keyboard shortcuts I think every Final Cut Pro beginner should learn.
Shortcuts make your work dramatically faster, which frees up time and brainpower for the creative part. If you’d like a refresher on everything else first, start with my Final Cut Pro basics guide.
There are many more shortcuts than this, and I hope you’ll pick up new ones as your skills grow. But just these 10 will make editing much more comfortable. The first five are easy, and the last five are a small step up.
You can also change shortcuts to keys that suit your hands. Press Option-Command-K to open the Command Editor.
You might know this one already. Press Command-C to copy clips, sound effects and other media. If you’ve heard Windows users muttering “Control-C, Control-V” at work, it’s exactly the same thing.
Command-V pastes what you copied. Copy and paste are basically a set, and in video editing I’d say they matter even more than when you’re typing in Word or Excel.
One Final Cut Pro detail worth knowing: Command-V inserts the clip at the playhead in the primary storyline, pushing later clips along. If you want the pasted clip connected above your footage instead, use Option-V (Paste as Connected).
Pasted something in the wrong spot, or just want to go back a step? Command-Z undoes your last action. It’s many times faster than hunting for the command with your mouse. Changed your mind again? Shift-Command-Z redoes it.
Command-I takes you straight to the Media Import window. When you realize mid-edit that you need another clip, press it and get it ready right away.
It’s like a cook who sets the onions within reach while still chopping the carrots. Everything just flows better.
This is the one I tell everyone they absolutely must learn. Command-B cuts the clip at the playhead without switching tools, so you never have to go back to the Select tool (A) between cuts.
Using the Blade tool (B) to click, then pressing A to return to the Select tool is totally fine too. Command-B is just more efficient.
From here, the shortcuts get a little more advanced. Casual users may not use them much, but they all make your work more efficient.
Select a clip and press V. The clip goes dark, and its picture and sound are switched off. Press V again to turn it back on.
I use it to get things out of the way while I work, and it’s surprisingly handy when adjusting audio or placing icons. If you’ve used Photoshop, it’s like hiding a layer so you can focus on just the part you’re working on.
Regular copy and paste copies the whole clip. Paste Attributes copies only the effects and settings, like casting a buff on another character in a game.
It’s great for reusing the same look, and just as great for fixing things you forgot. In heavy projects I sometimes forget to add an effect somewhere, and this saves me every time.
This one makes the video stop as if it froze. Shift-H creates a two-second hold segment at the playhead, the same as choosing Hold from the Retime pop-up menu below the viewer. If you’d rather add a separate still frame, Option-F adds a freeze frame.
“Do I really need that?” you might ask. Famous YouTubers and TV variety shows use it all the time, and it’s great in cinematic vlogs too. It turns out to be surprisingly useful, especially when you can do it in a second.
This combines several clips into one compound clip. You can do it with a right-click, but doing it from the keyboard is faster.
Why use compound clips at all? A few reasons:
You’ll probably use this one a lot, so it’s well worth learning.
Press L to play the timeline. Press it again to play faster. K stops playback, and J plays in reverse, and it also speeds up with each extra press.
Cutting at normal speed takes forever, so I speed up playback to cut in big chunks. It’s also great for a quick final check of the whole video before you export.
Once these are in your fingers, the next big jump in speed for me came from title and animation plugins. My everyday picks are mTuber 3 and mKBHD. Here are my mTuber 3 review and mKBHD review.
Both are now included in MotionVFX’s DesignStudio plan ($29/month before tax, with a 14-day free trial that becomes paid unless you cancel). You can see the plans here.
That was my list of keyboard shortcuts every Final Cut Pro beginner should learn.
To be fair, you can make videos without memorizing a single shortcut. But learning them makes you faster, and that time goes back into making better videos. So use this chance to aim for shortcut master status.
Happy creating!